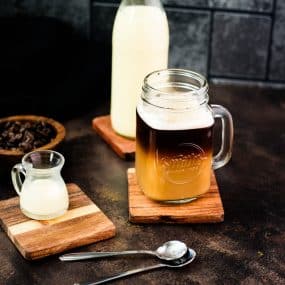
What is coffee without a creamer!? If you can’t imagine your morning coffee without creamer, why not try your hand at making this creamy flavoring from scratch!?
Coffee and creamer are a match made in barista heaven! The smooth and mildly sweet flavors of a great coffee creamer highlight the deliciously complex notes in a nice cup of coffee, but store-bought creamers always feels so wasteful! It never lasts and the containers just pile up! Kick the store-bought stuff to the curb with this easy and delicious recipe for the perfect homemade coffee creamer!
What You Will Love About this Recipe
- The silky, smooth, and creamy texture of this flavoring will have you head over heels!
- Homemade creamer has a simple sweet cream flavor everyone will love!
- This is made with only four affordable and simple ingredients!
- The steps in this recipe are so simple and easy that you’ll wonder why you haven’t been making this all along!
- There is a time-saving version of this recipe for homemade creamer quick!
- It tastes so much better than store-bought!
- Great for coffee, tea, and more!
- This recipe can be customized with your favorite flavor syrups!
Ingredients you need

Whole Milk – Whole milk is a café staple. It is the most versatile and tasty form of cow’s milk, and with this amazing ingredient, baristas can make everything from foam to creamer.
Whole milk is the best choice for this recipe; however, it needs to be reduced to work in this creamer and that takes time. If you are in a hurry and still want luscious homemade creamer, trade whole milk for condensed milk.
Sugar – Granulated sugar is a great choice to bring a hint of sweetness to the creamer. If you prefer a sugar-free option, try powdered monk fruit or stevia instead.
Heavy Cream – Heavy cream adds the unctuous fat needed to make this creamer irresistible!
Salt – Just a hint of salt helps to balance the sweet and creamy flavor in the best way possible!
Homemade Coffee Creamer Step-by-step

How To Make a Homemade Creamer From Scratch
Step 1
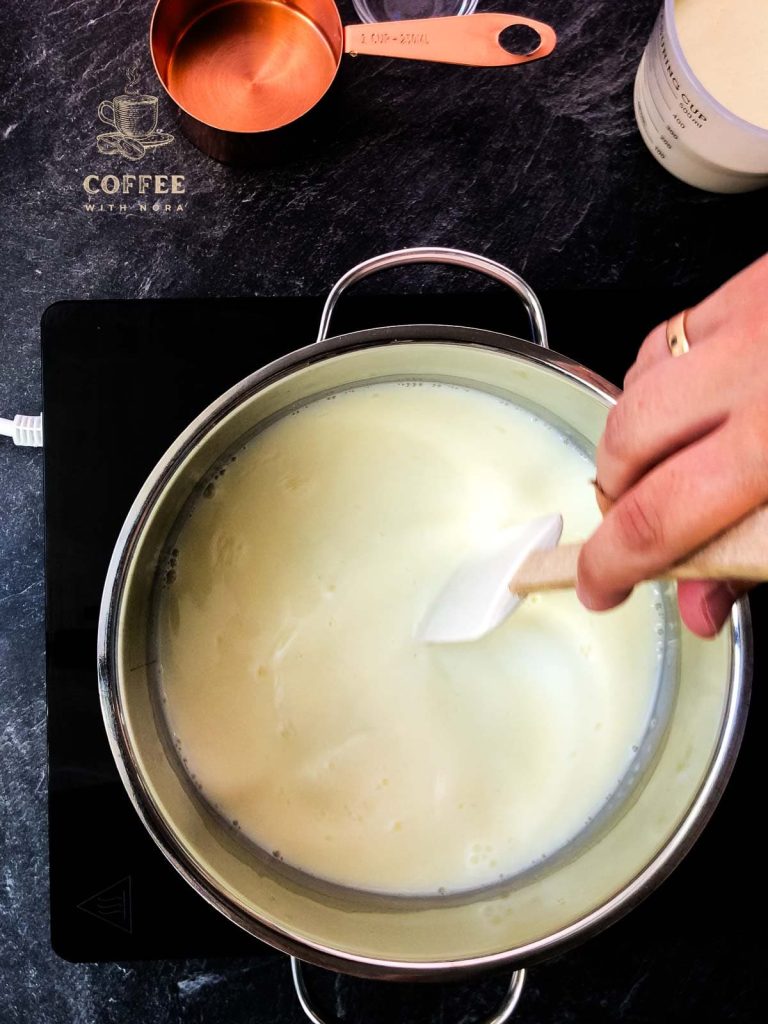
Combine the milk, sugar, and salt over low heat to reduce the milk. Be sure to scrape the sides of the pot with a rubber spatula!
Reducing is a little time-consuming and takes some patience. Grab a cup of coffee, sip, and just relax in the kitchen while the luscious mixture cooks down!
If you are in a rush, grab condensed milk instead of whole milk and simply warm the mixture up to a low simmer before moving to the next step.
Step 2
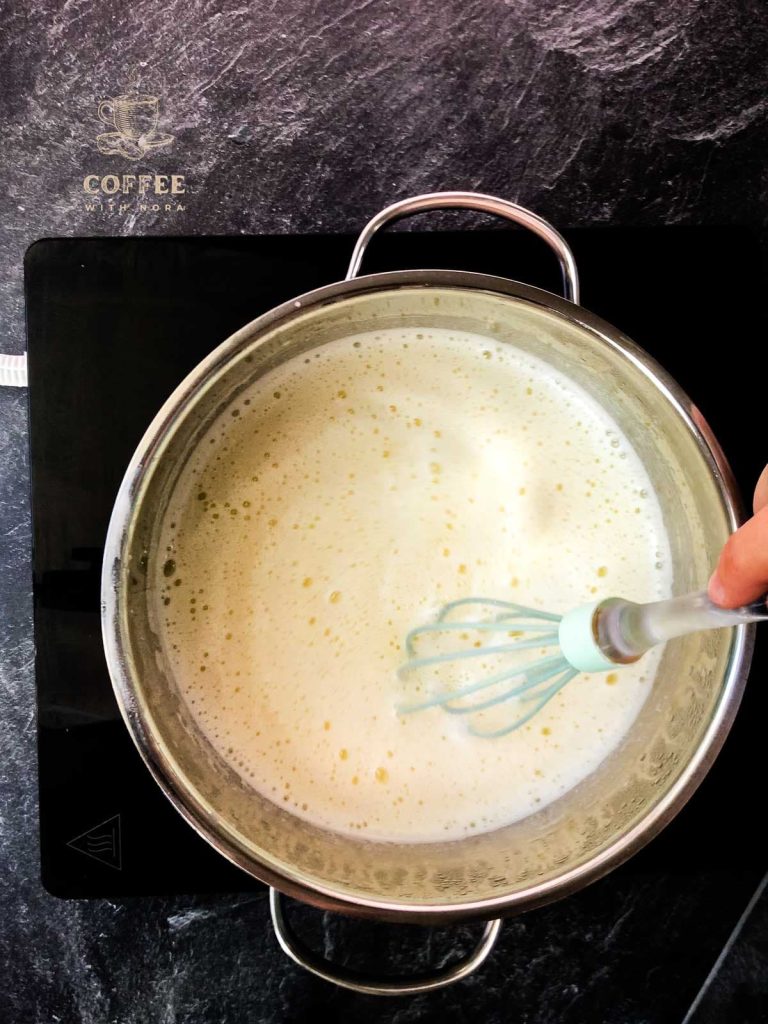
Combine the heavy cream with the reduced milk mixture over low heat for 5 to 10 minutes. Be sure to whisk constantly until the mixture is nice, thick, and creamy!
Storing Homemade Coffee Creamer
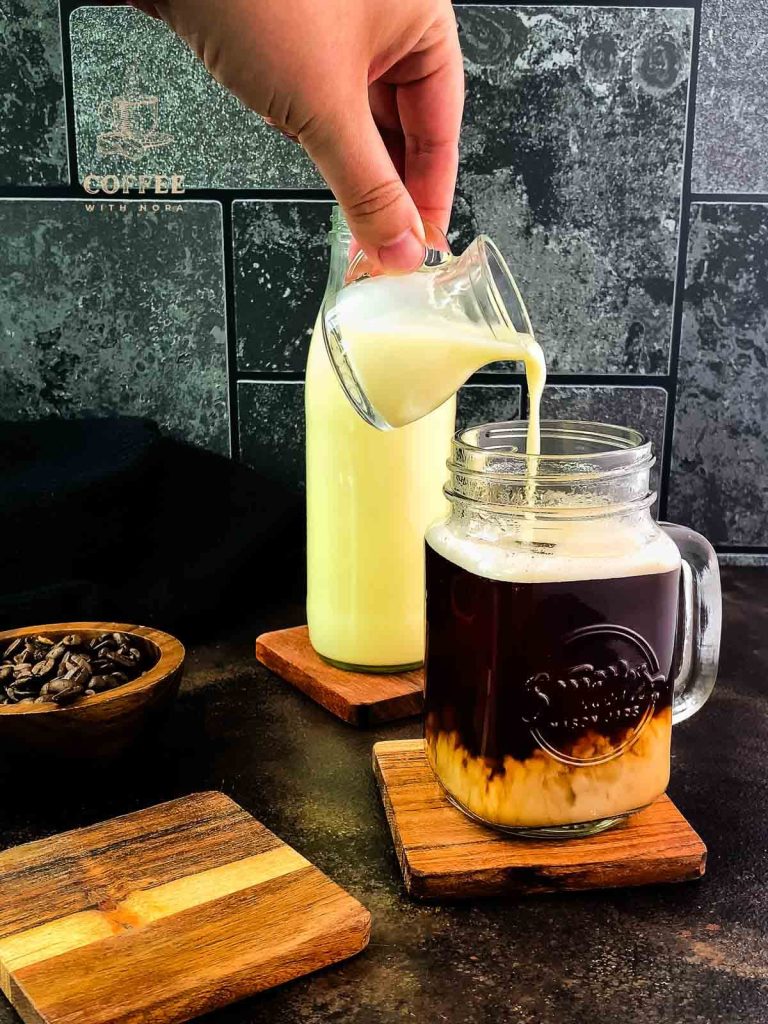
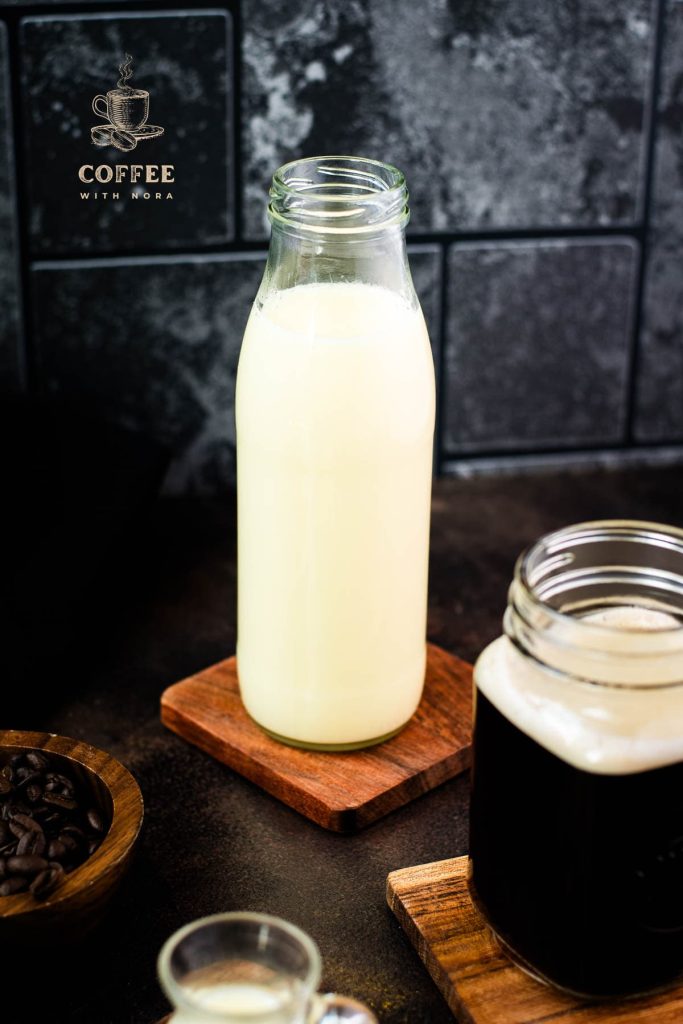
Once you’ve crafted your beautiful coffee creamer you will not want to waste a single drop! Make the most of this delicious drink enhancer by saving any extra in an airtight container or pitcher. This creamer will keep in the fridge for up to 3 days.
Important Barista Tips
Condensed milk is an amazing hack for this recipe. With 2 cups of condensed milk instead of whole milk, you can cut the time to make this recipe from start to finish by about half an hour! If you choose to go this route, though, don’t forget to simmer the condensed milk before adding the heavy cream.
This delicious recipe is perfectly creamy and mildly sweet, but if you’re craving a little extra flavor you can add a little of your favorite flavor syrup. Just add the syrup to the creamer while everything is still hot. This helps it to incorporate throughout the creamer fully.
Products
- Pot and Mixing Tools – This recipe requires reducing the milk before mixing it with delicious cream. To do this, you need a medium pot and mixing tools like a rubber spatula and whisk.
- Container or Pitcher – A glass container or pitcher with a lid is the perfect place to store finished coffee creamer.
- Flavor Syrups – If you want to add delicious flavor to this silky creamer, flavor syrups are a great choice. Look for these delectable flavorings online or at your favorite bar supply store. There is no limit to the flavorful ways you can mix up the taste of this homemade creamer.
Frequently Asked Questions About Homemade Coffee Creamer
Yes! If you want to make this last longer or just try a different texture you can freeze this homemade creamer!
Here’s how:
.) Pour the cooled creamer into a silicone ice cube tray with a lid.
.) Cover and carefully place the tray in the freezer.
.) Allow it to freeze fully for about 3 to 6 hours before using.
.) Cubes of frozen creamer will last up to 2 months.
.) There is no need to thaw out the cubes of frozen creamer before using.
.) To use, drop one or two cubes into your iced or hot coffee to add some slow-melting creamy flavor!
This creamer may be perfect in coffee, but it can be so much more! Try this delicious homemade creamer in your favorite black tea or hot chocolate to add extra decadent flavor and texture.
If you want an extra decadent treat make a milkshake using this homemade creamer, regular milk, and your favorite brand of coffee ice cream! It’s an over-the-top delicious dessert that will make any coffee lover swoon!
This recipe is made with milk and cream which are both acceptable fats in the keto diet; however, it is also made with sugar so this cream has some carbs.
If you want to make a more keto-friendly rendition of this recipe, try swapping the sugar for your favorite granulated sugar-free sweeter.

More Recipes You Might Enjoy:
- Can you Whip Coffee Creamer?
- Lavender Latte
- Honey Lavender Oat Milk Latte
- Honey Latte
- Iced Honey Latte
- Iced Lavender Latte
- Why does Oat Milk Separate in Coffee?
- Can you put Hot Coffee in Glass?
- How much Syrup to put into Coffee?
- How to Froth Milk Without a Frother?
- Why does Oat Milk Separate in Coffee?
If you make this recipe, let me know how you liked it by ★★★★★ star rating it and leaving a comment below. This would be awesome! You can also sign up for our Newsletter or follow me on Pinterest or Instagram and share your creation with me. Just tag me @coffeewithnora and hashtag #coffeewithnora_recipes, so I don’t miss it.
Basic Coffee Creamer
Equipment
- Whisk
- Silicone spatula
- Medium saucepan
- Glass container
- Bowl
Ingredients
- 2 cups Whole milk
- 1 cup Granulated sugar
- ¼ tsp Salt
- 1 ¼ cup Heavy cream
Instructions
- In a small saucepan, pour in 2 cups Whole milk, 1 cup Granulated sugar, and ¼ tsp Salt, and reduce them to 1⁄2 on low heat, mixing and scraping the sides of the pan using a silicone spatula.2 cups Whole milk, 1 cup Granulated sugar, ¼ tsp Salt
- This process will take about 30–40 minutes total, so if you want to skip it use store condensed milk and bring it to a low simmer.
- Once we get the milk reduction/condensed milk, we can add 1 ¼ cup Heavy cream and bring everything together to a simmer again on low heat while constantly whisking, this time for another 5–10 minutes.1 ¼ cup Heavy cream
Notes
Nutrition
Food Safety
- Don’t leave food sitting out at room temperature for extended periods
- Never leave cooking food and beverages unattended
- Always have good ventilation when using a gas stove


